

DxO FilmPack 8: Bringing Authentic Analog Soul to Digital Files

Bridging Analog and Digital
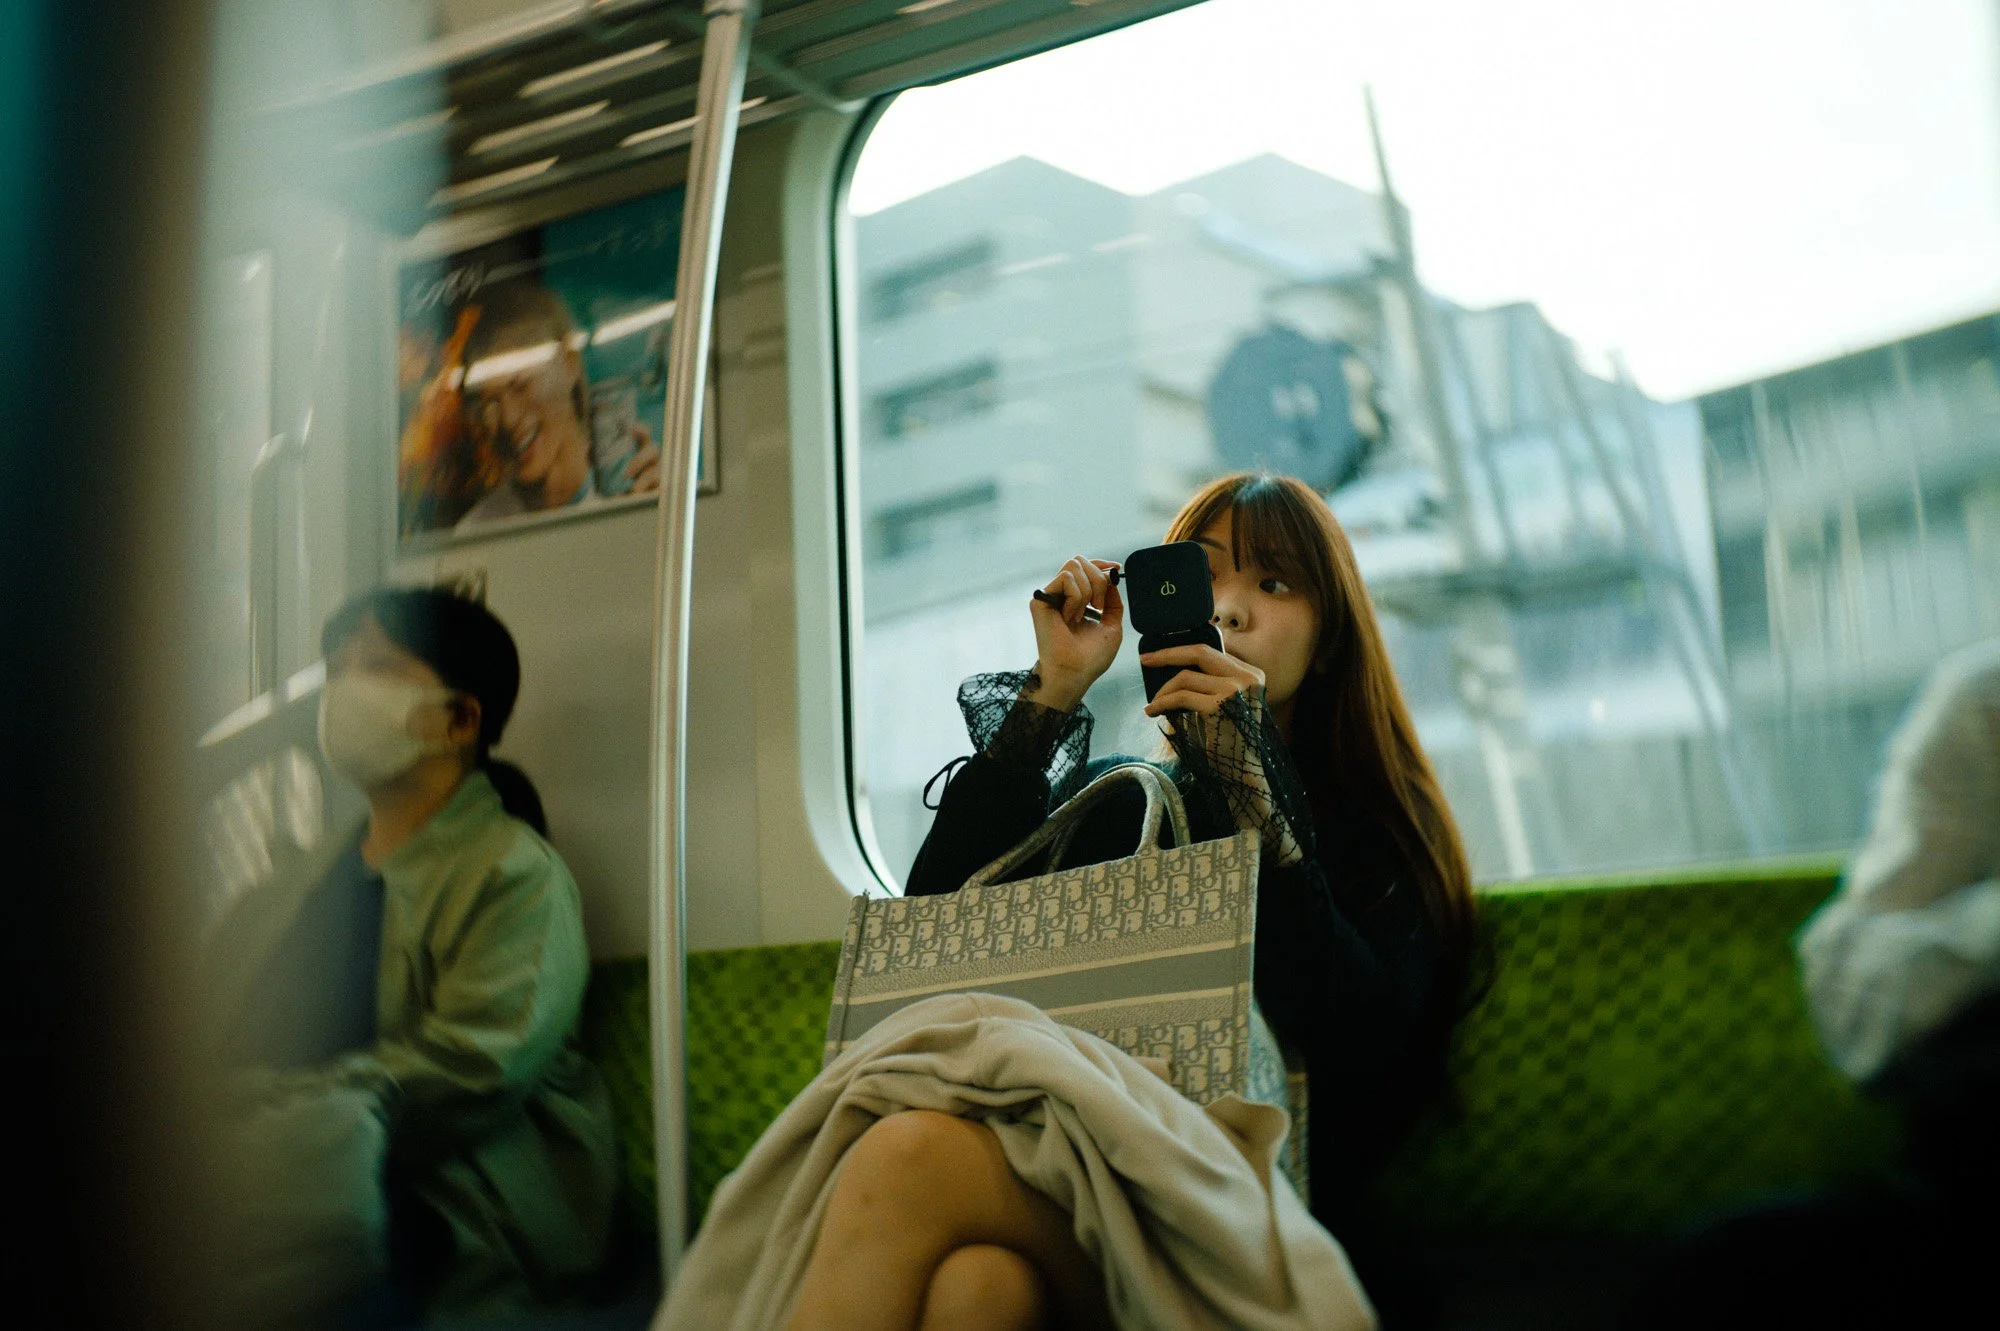
If I told you that you could get film photography out of your digital camera with the most precise simulation available, you might be interested. DxO FilmPack 8 is out, and it brings new features to help bridge that gap. Today, I want to show you how I use this software to add character to my images and share my honest thoughts on this new update.
What is DxO FilmPack?
Before diving into the interface, it is important to understand what this software actually is.You likely know DxO for the precise correction of lenses. They applied this same scientific approach to film simulation.The goal is to reproduce the look of your favorite film stocks both negative and positive as closely as possible on your digital files.
My Workflow: Pre-Editing is Key
I work primarily through Lightroom. My workflow starts with a "pre-edit" where I set the general direction of the image. I don't just slap a filter on; I want to prepare the file to receive that vintage look, using the presets to emphasize the idea I had when shooting.
Once the base edits are ready:
I right-click and select "Edit in FilmPack 8".
I set the color space to Adobe RGB 1998.
I switch the resolution to 240 dpi to ensure the best quality with no compression.
This creates a TIFF file and opens the standalone FilmPack software.

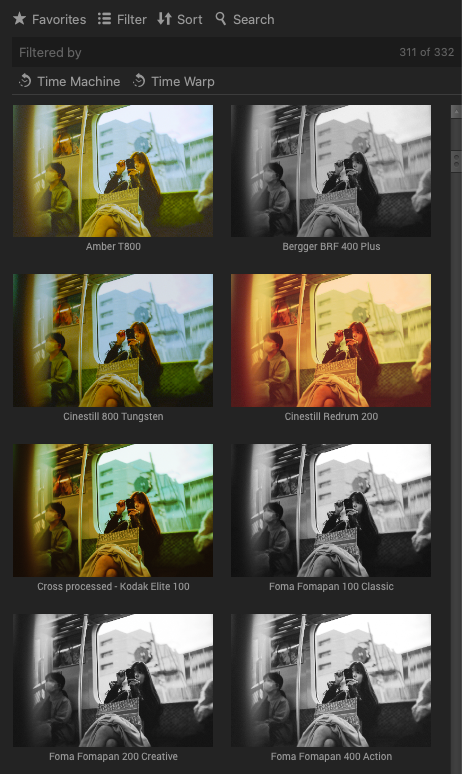
A Clean, Focused Interface
What I appreciate about FilmPack is that the software is made to be extremely simple. It goes straight to the point: editing a picture. Even when zooming in to check details, FilmPack feels extremely smooth to use.
Views: You have options for side-by-side previews or split views to compare before and after.
Tools: On the right, you have a control panel for cropping, rotating, and fixing the horizon. There is also a histogram and a navigator window to keep track of where you are in the frame.
New Features: My Honest Take
This update includes several new tools. Some I expected, others were a total surprise.
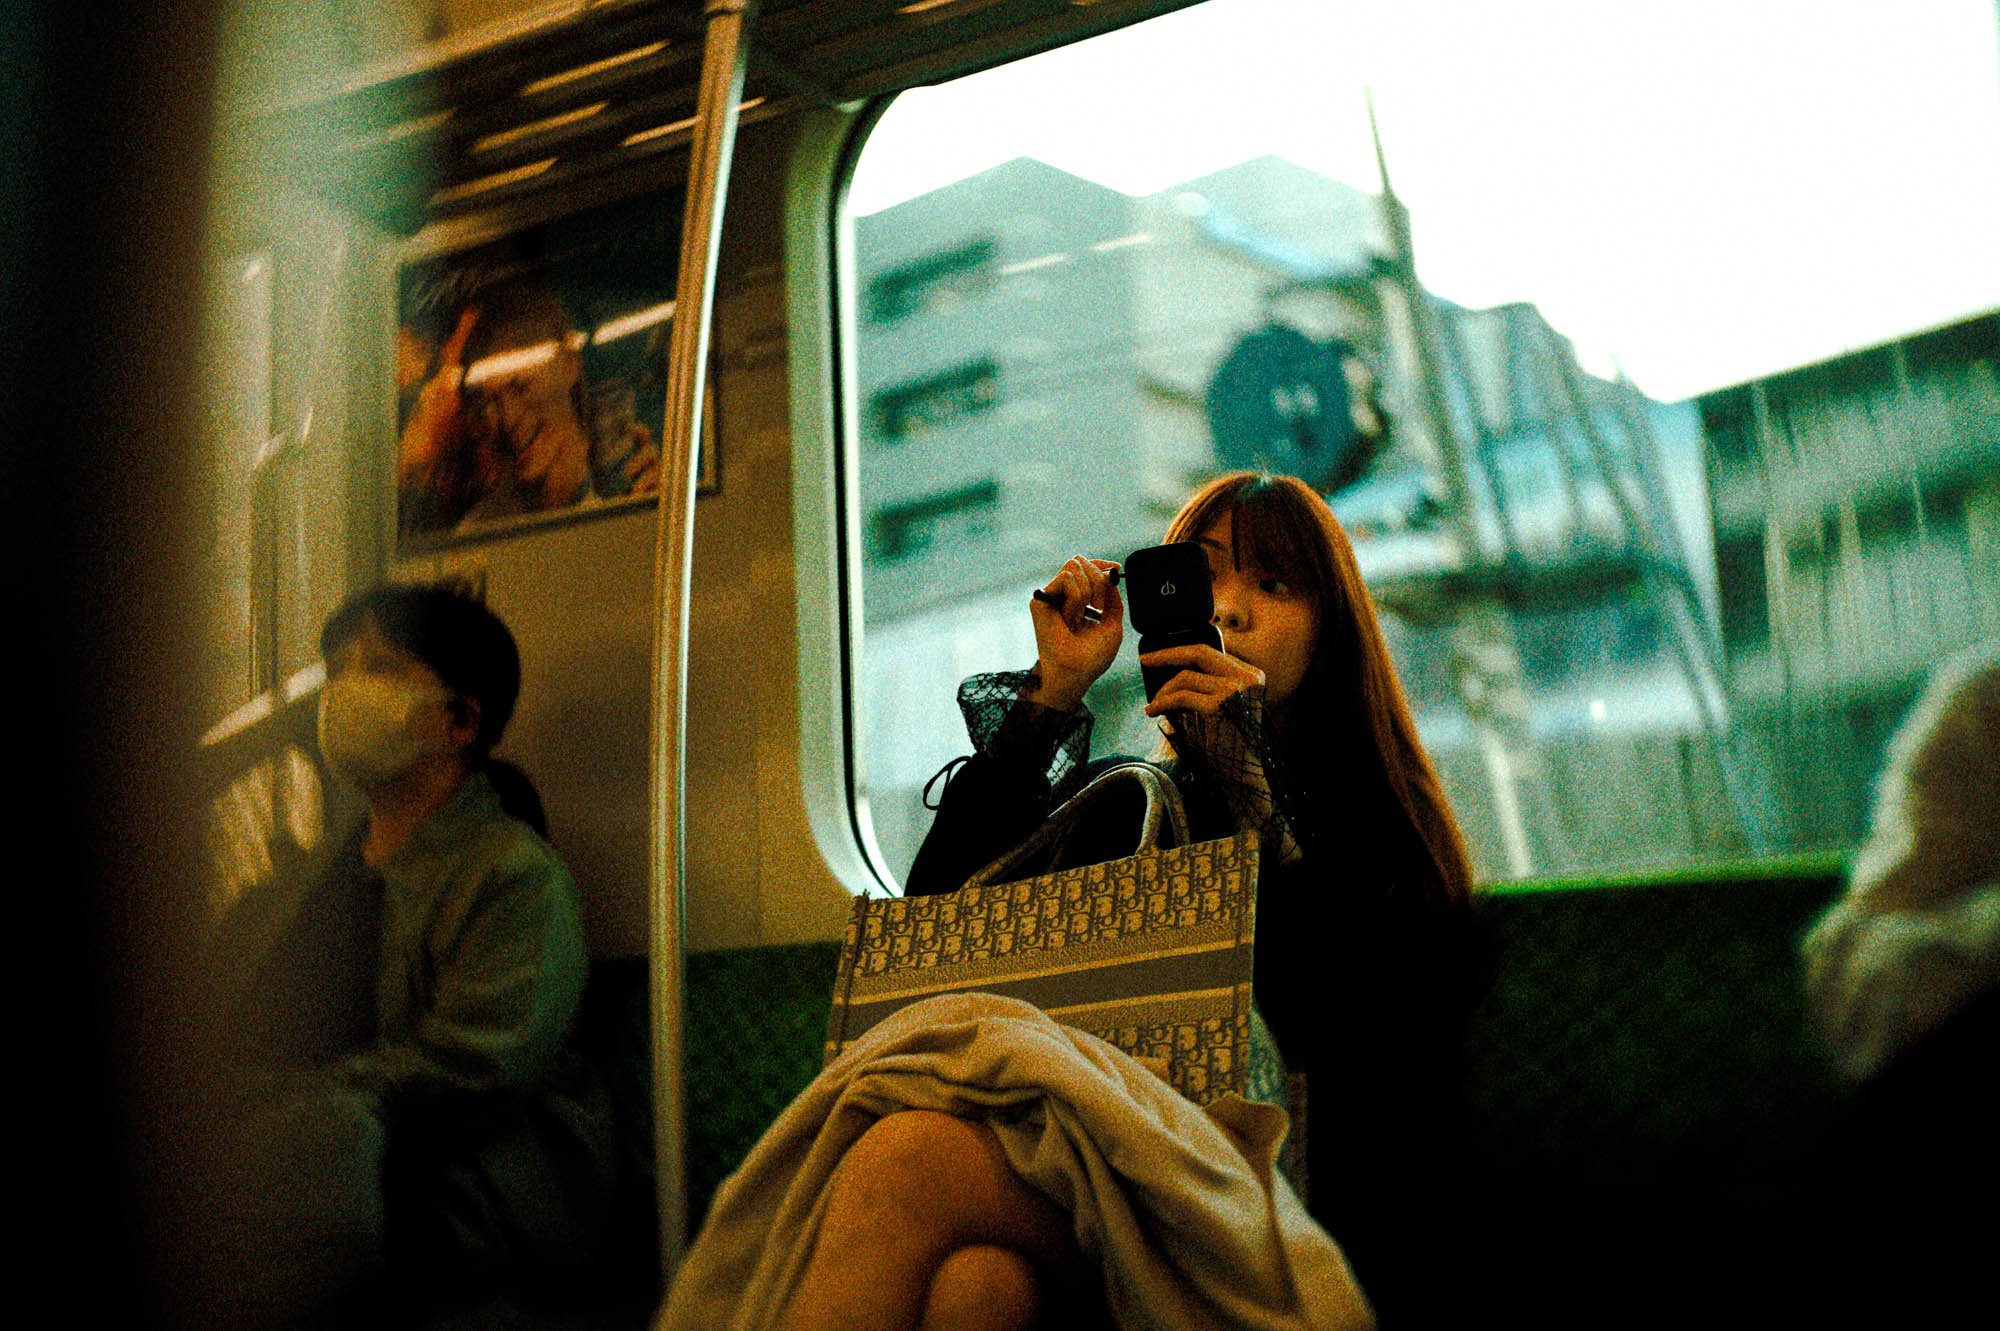
1. Time Warp Mode This is a new feature with a time travel slider. It applies historical photo styles ranging from the 1800s up to the 20th century. It allows you to dig into different eras of photography, aging your pictures in ways that might surprise you.
2. Photoshop Integration For Photoshop users, there is now full integration. You can apply all the presets from the standalone software directly within Photoshop with live previews. Every time I talk with DxO, they emphasize how hard it is to exit your workflow, and they are really paying attention to keep you in your flow so you don't break your experiments.
3. Film Scanning Support (My Favorite Surprise) This was the feature I wasn't expecting at all. You can now scan your negative film and convert it to positive directly in the software. In my personal opinion, it is still not perfect. It tends to bleach the whites in the picture, so I often have to increase highlights and adjust blacks to bring back contrast.However, I think it was a very good idea to add it, as there are not many solutions on the market for this. I would love to see the next version be a bit more ergonomic and go deeper into the options.
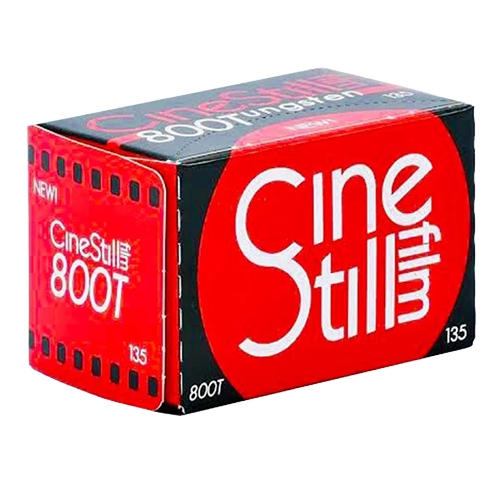
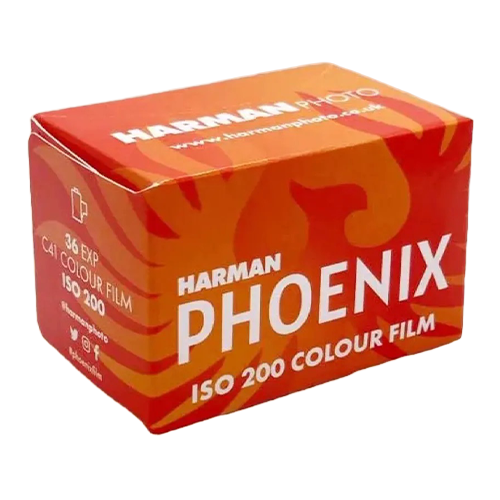
4. New Film Styles The library now totals 153 styles. Notable additions include the famous CineStill 800T and the new Harman Phoenix 200. I tested the Harman Phoenix in a previous video, and this simulation captures that specific, high-contrast look perfectly. It’s great because now you can try the look before buying the actual film.
Customization: Digital Retro?
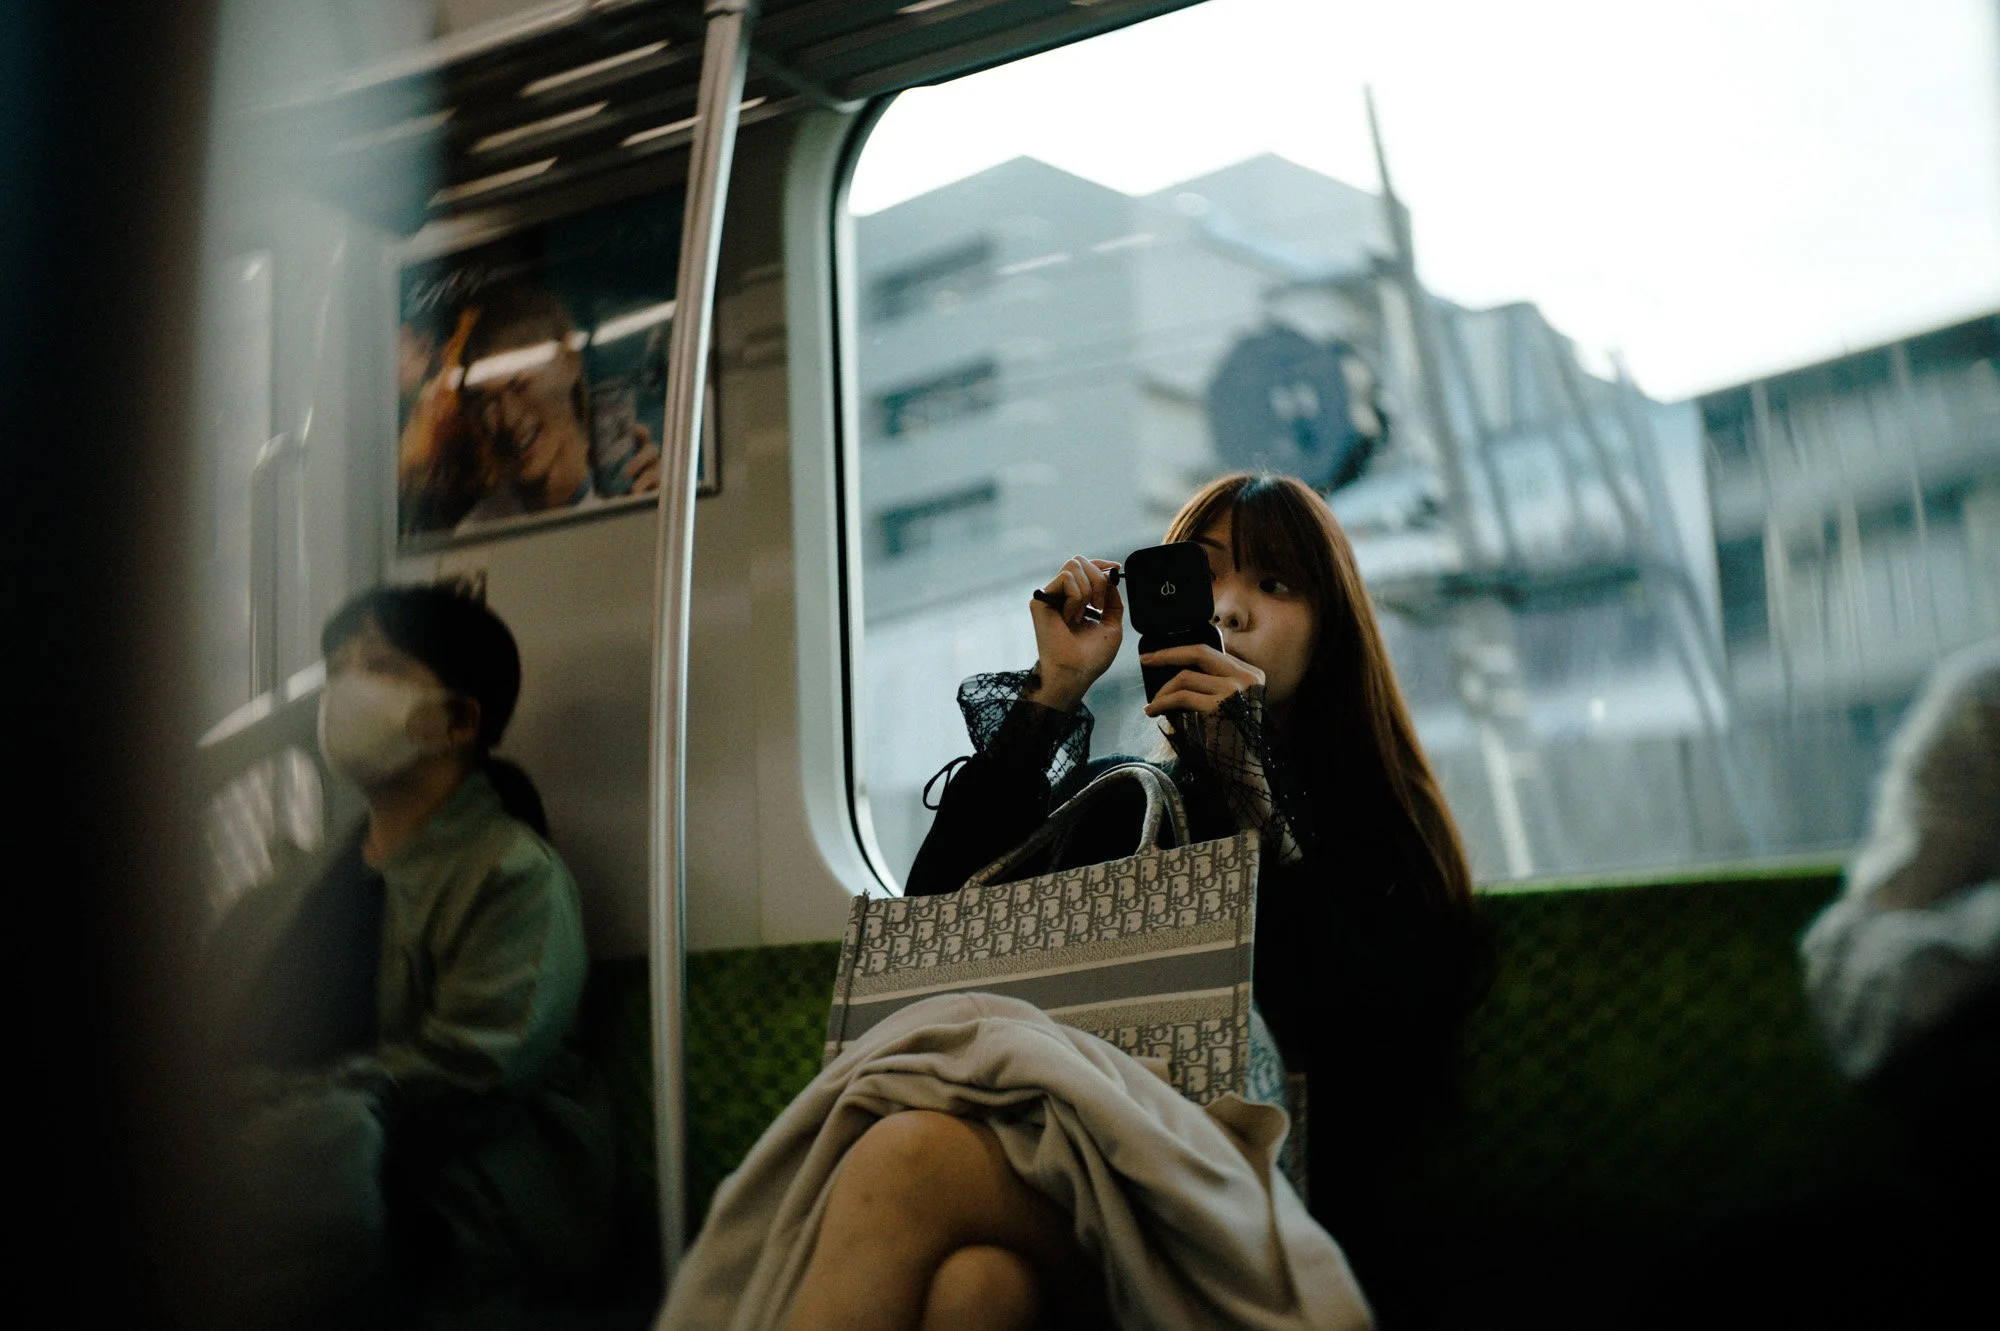
The real power lies in the control panel. If I feel the grain is too strong, I can easily soften it or switch it to a medium format structure. I can separate the grain from the film simulation entirely.
Interestingly, they added digital profiles for Sony and Fuji. It reminded me of retro gaming at one point, digital cameras will also be considered "retro," and I think that era has already started.
Final Thoughts
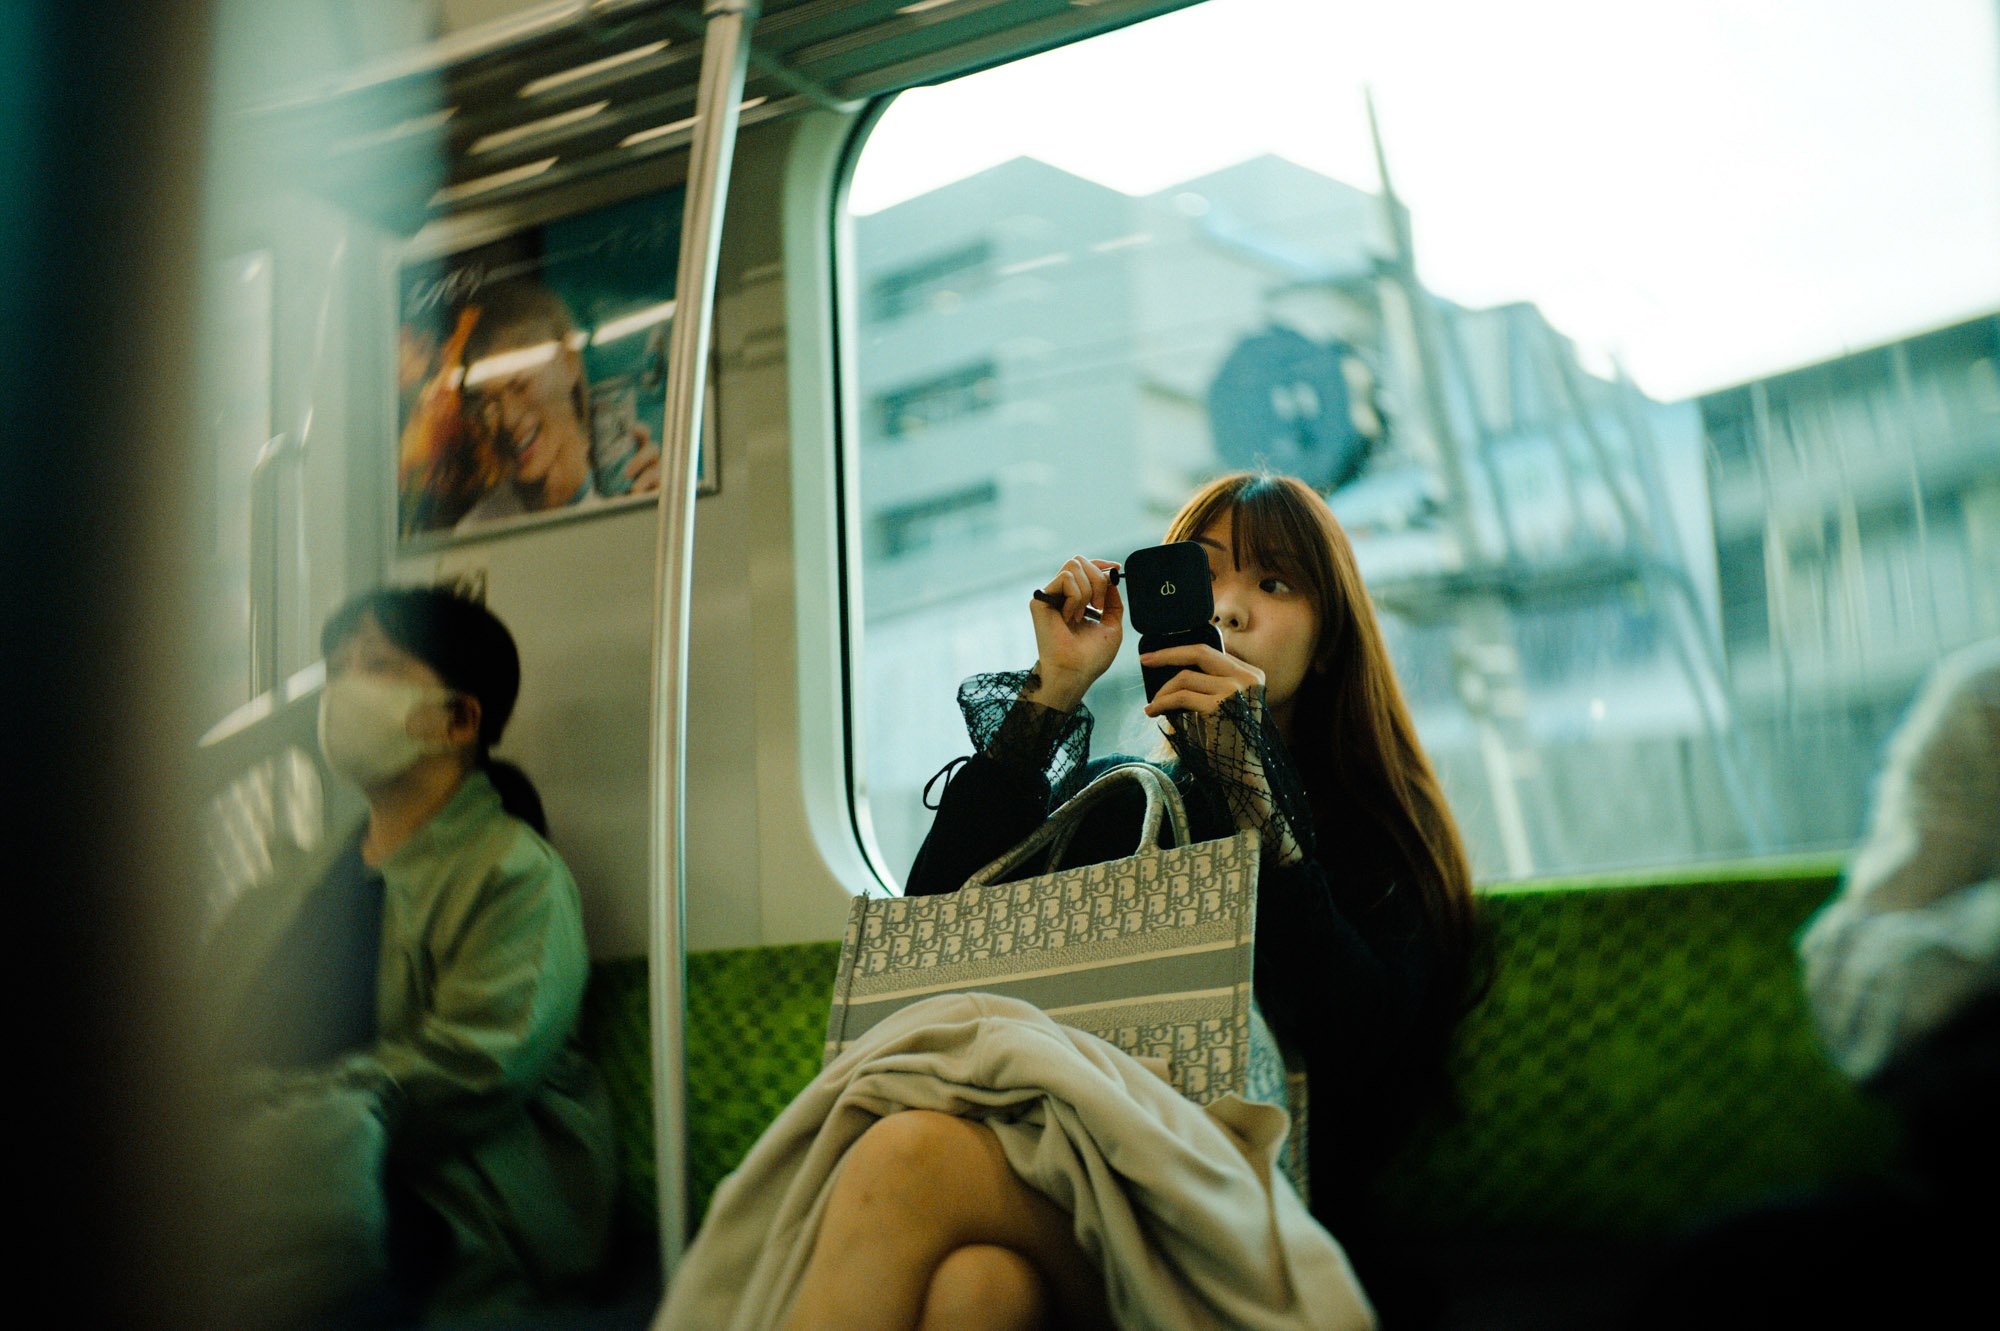
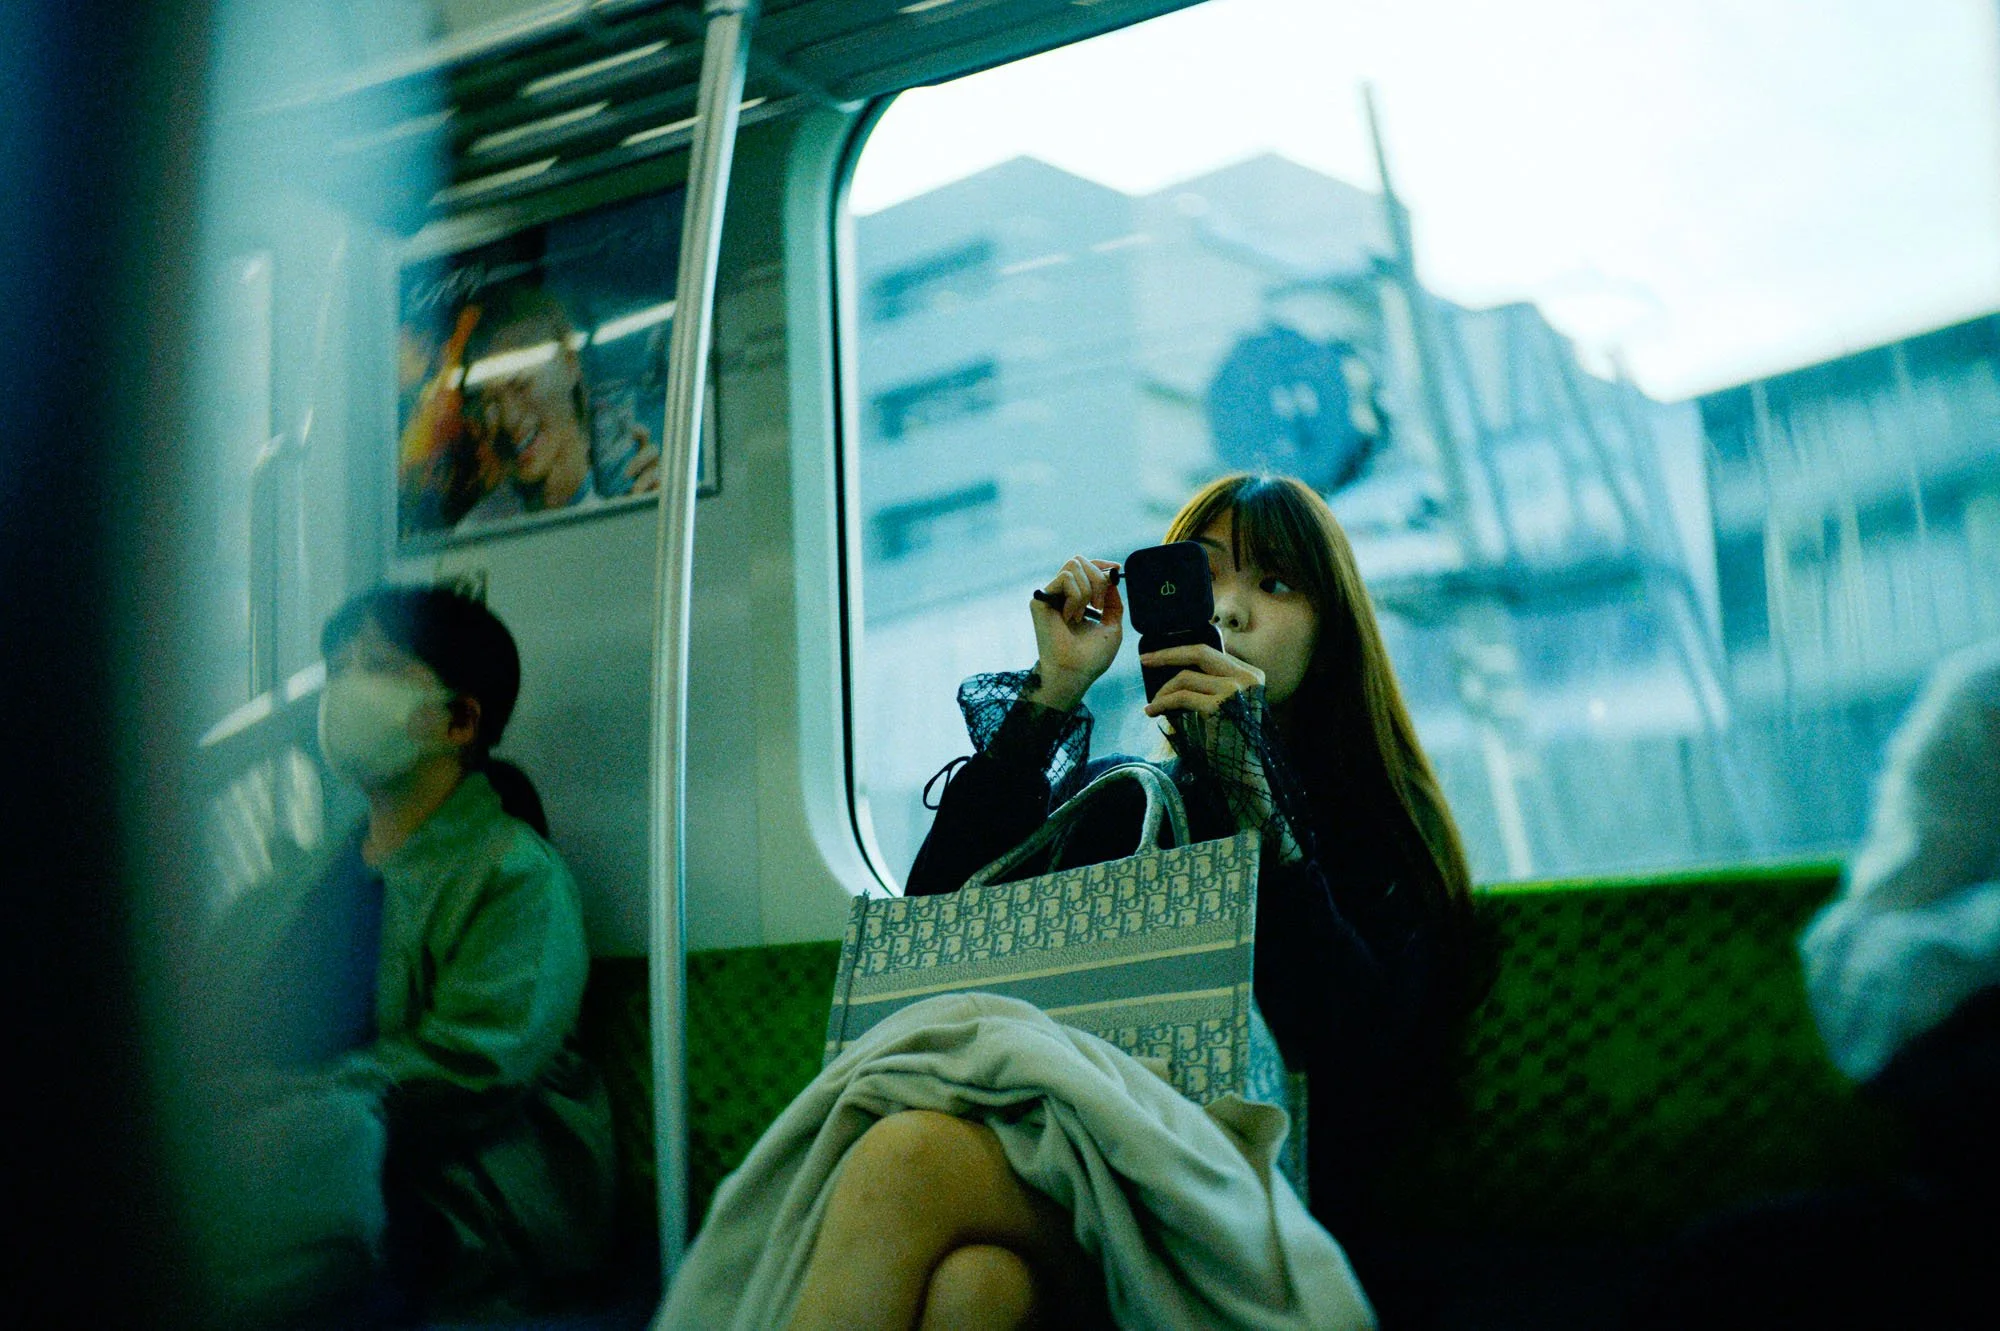
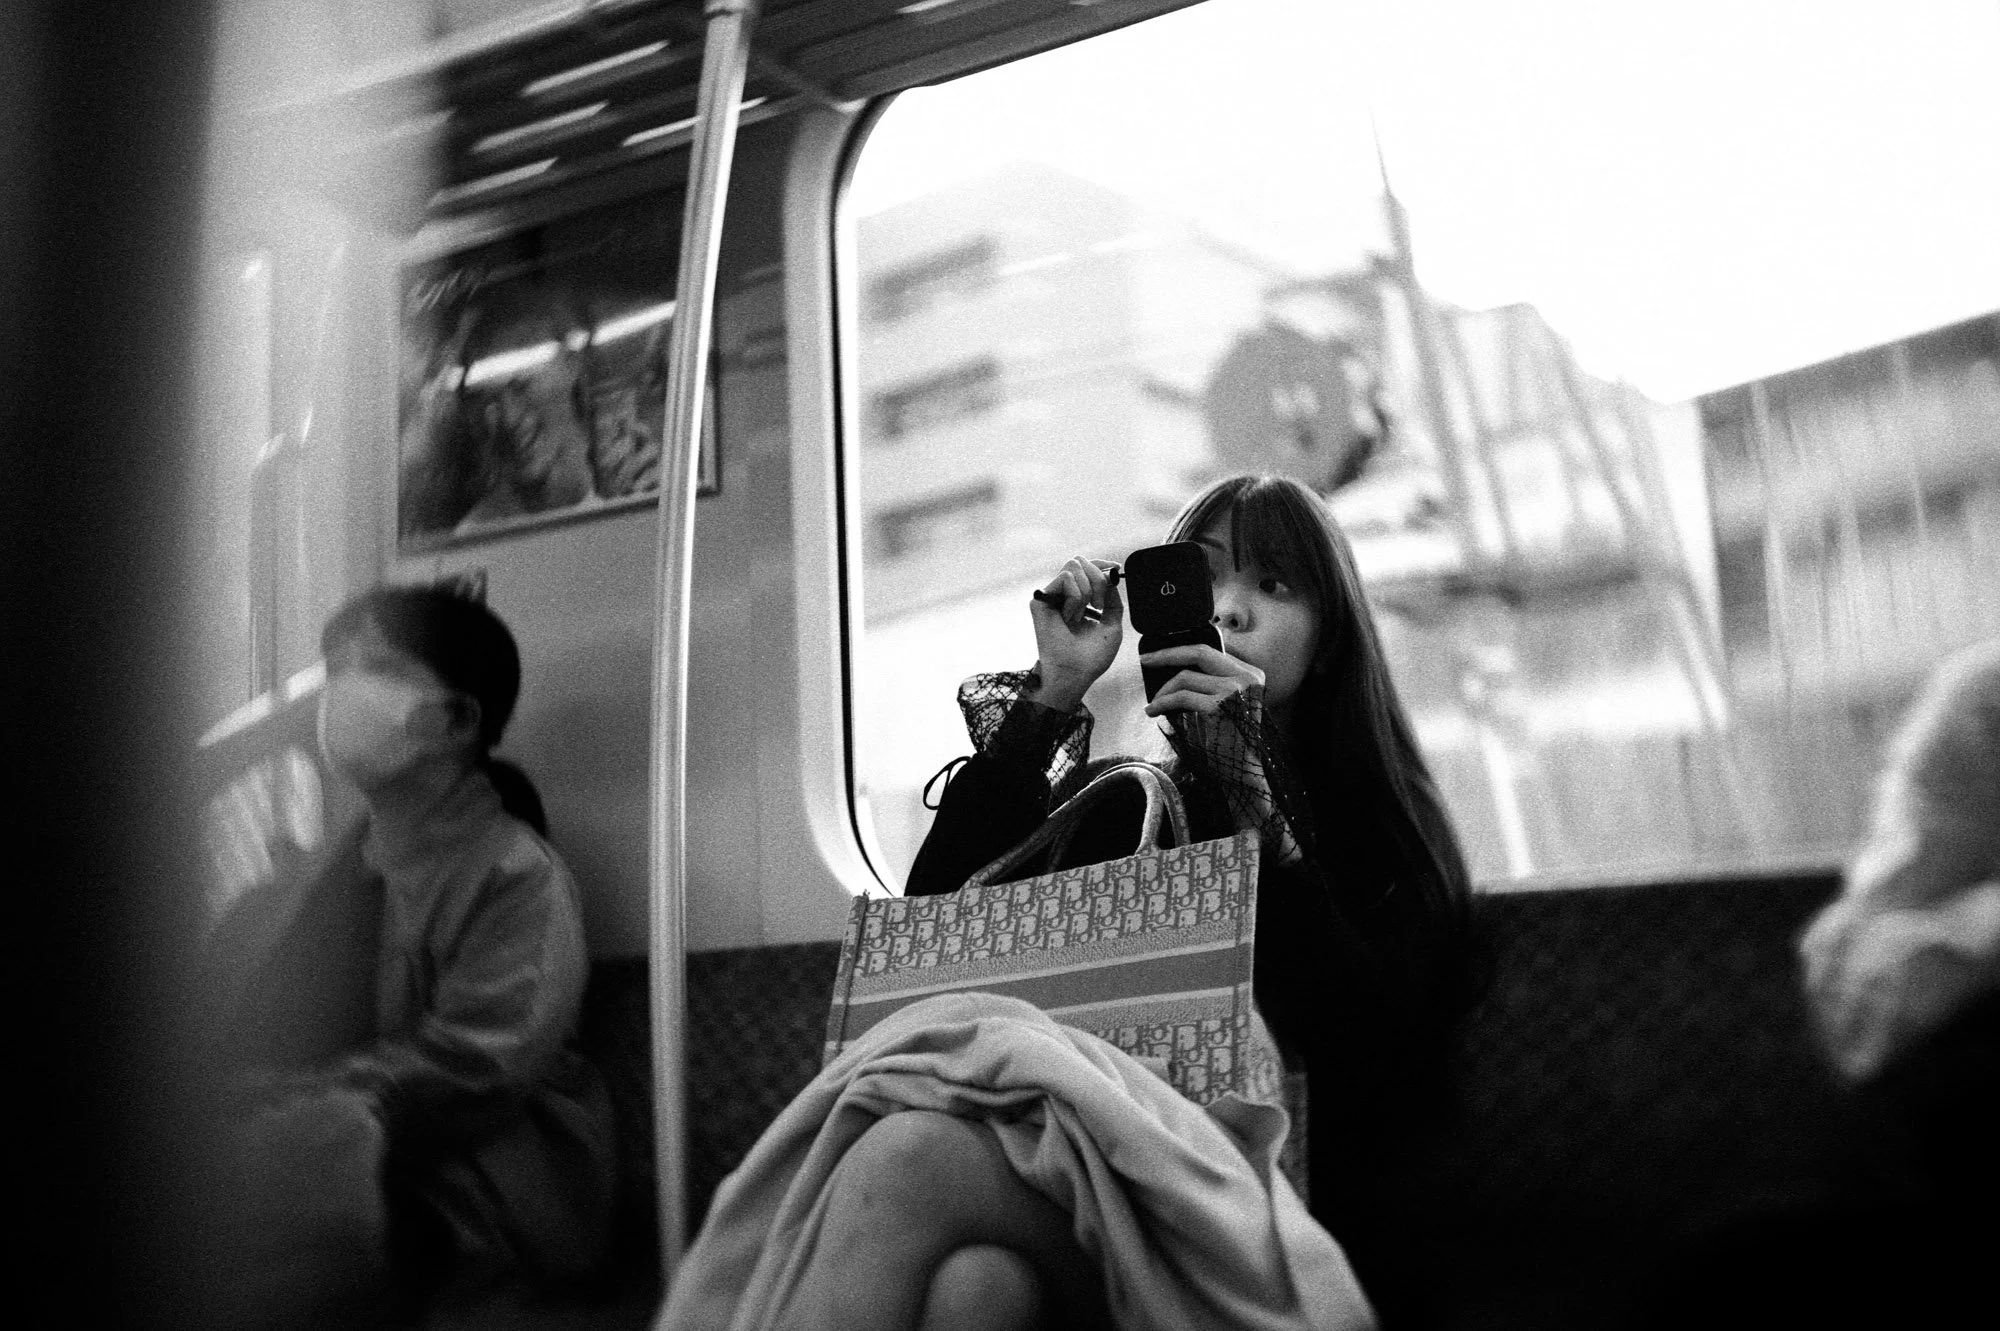
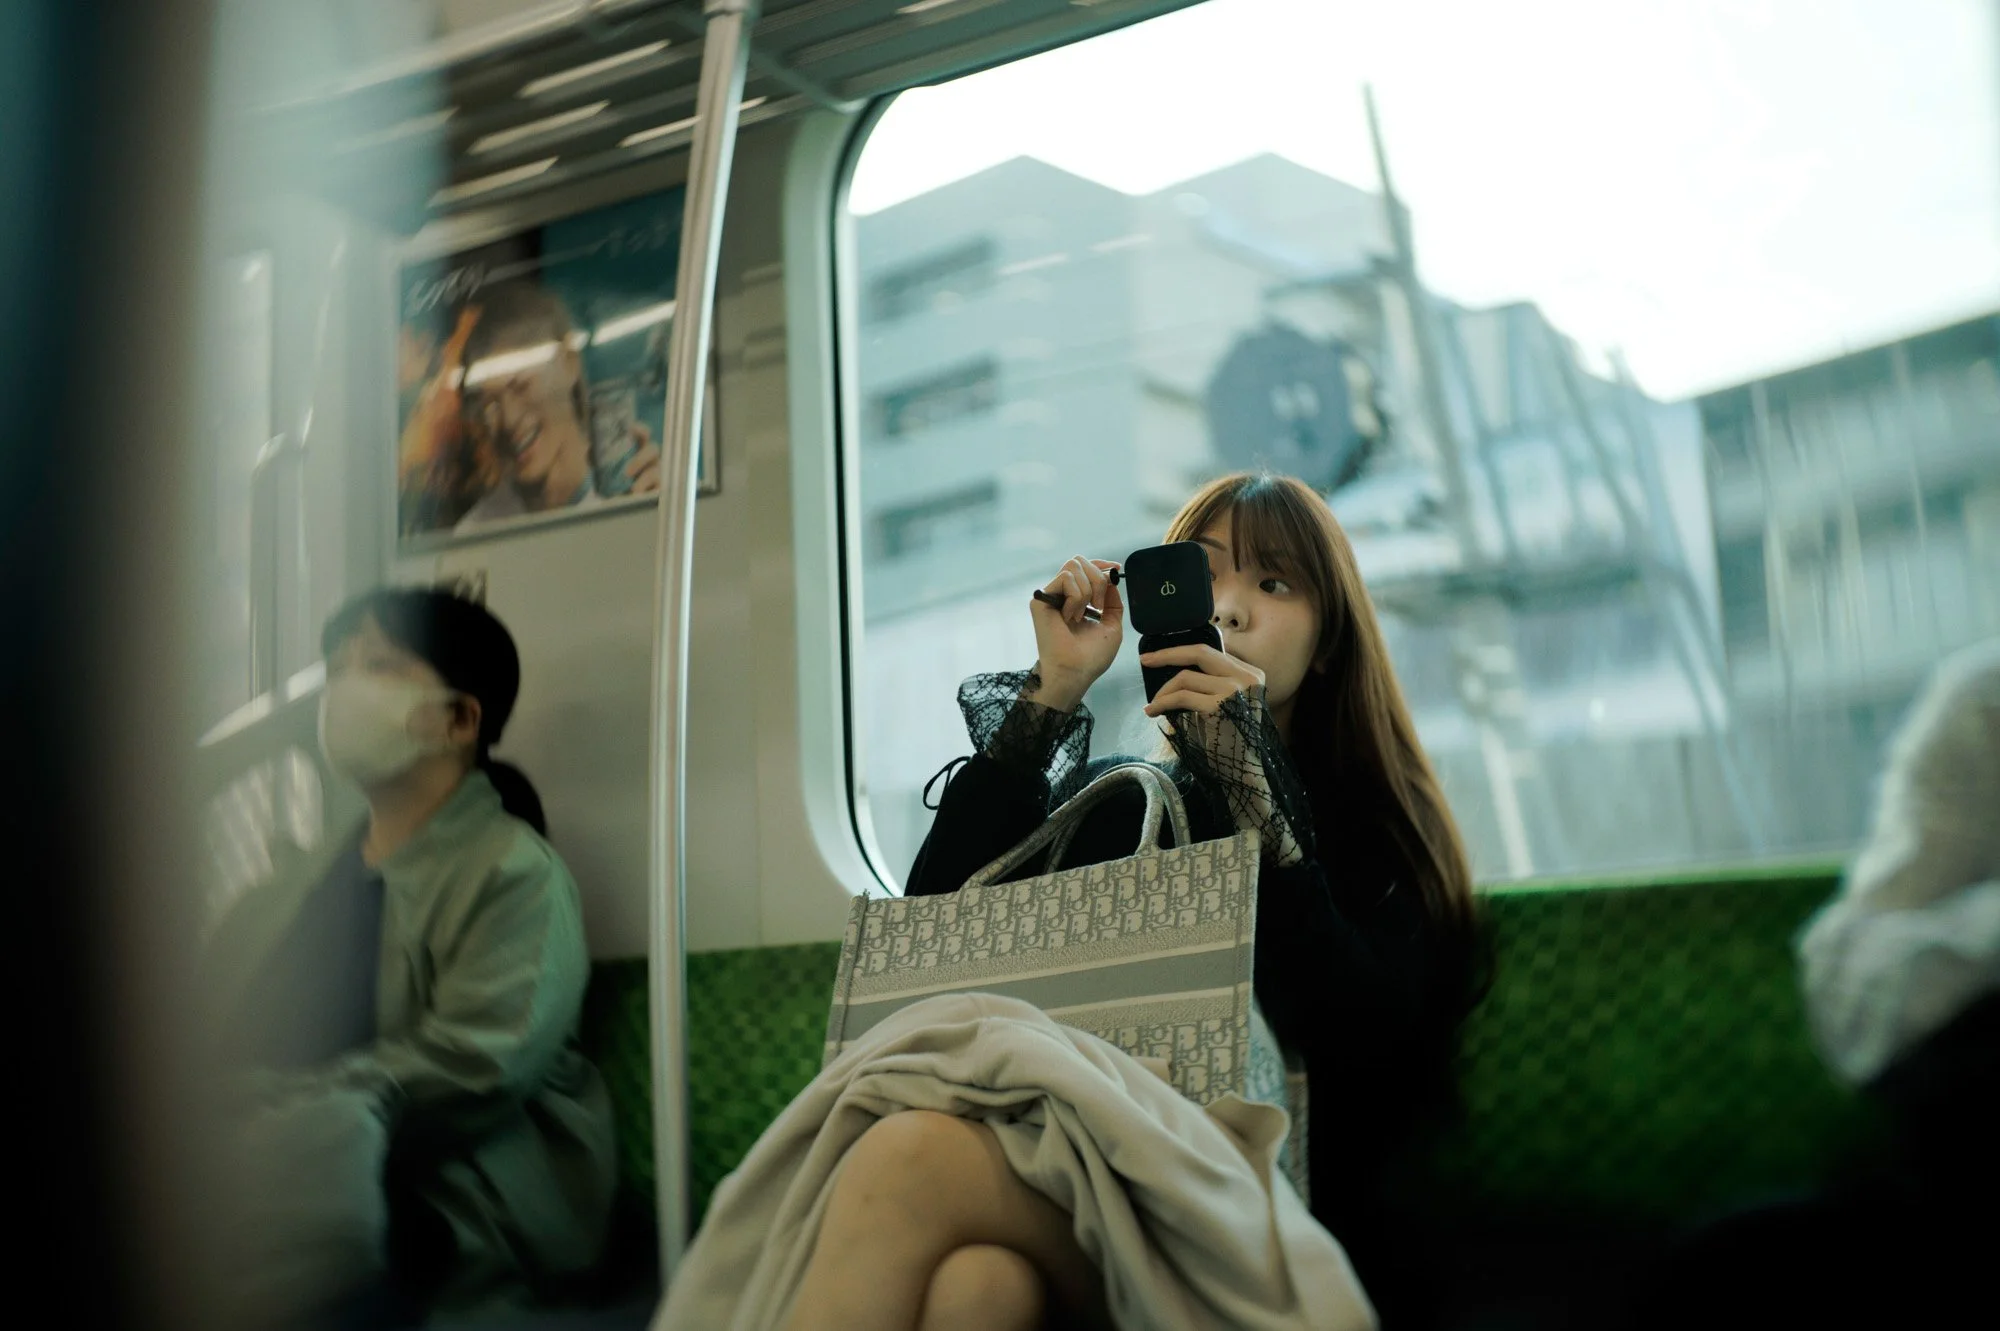
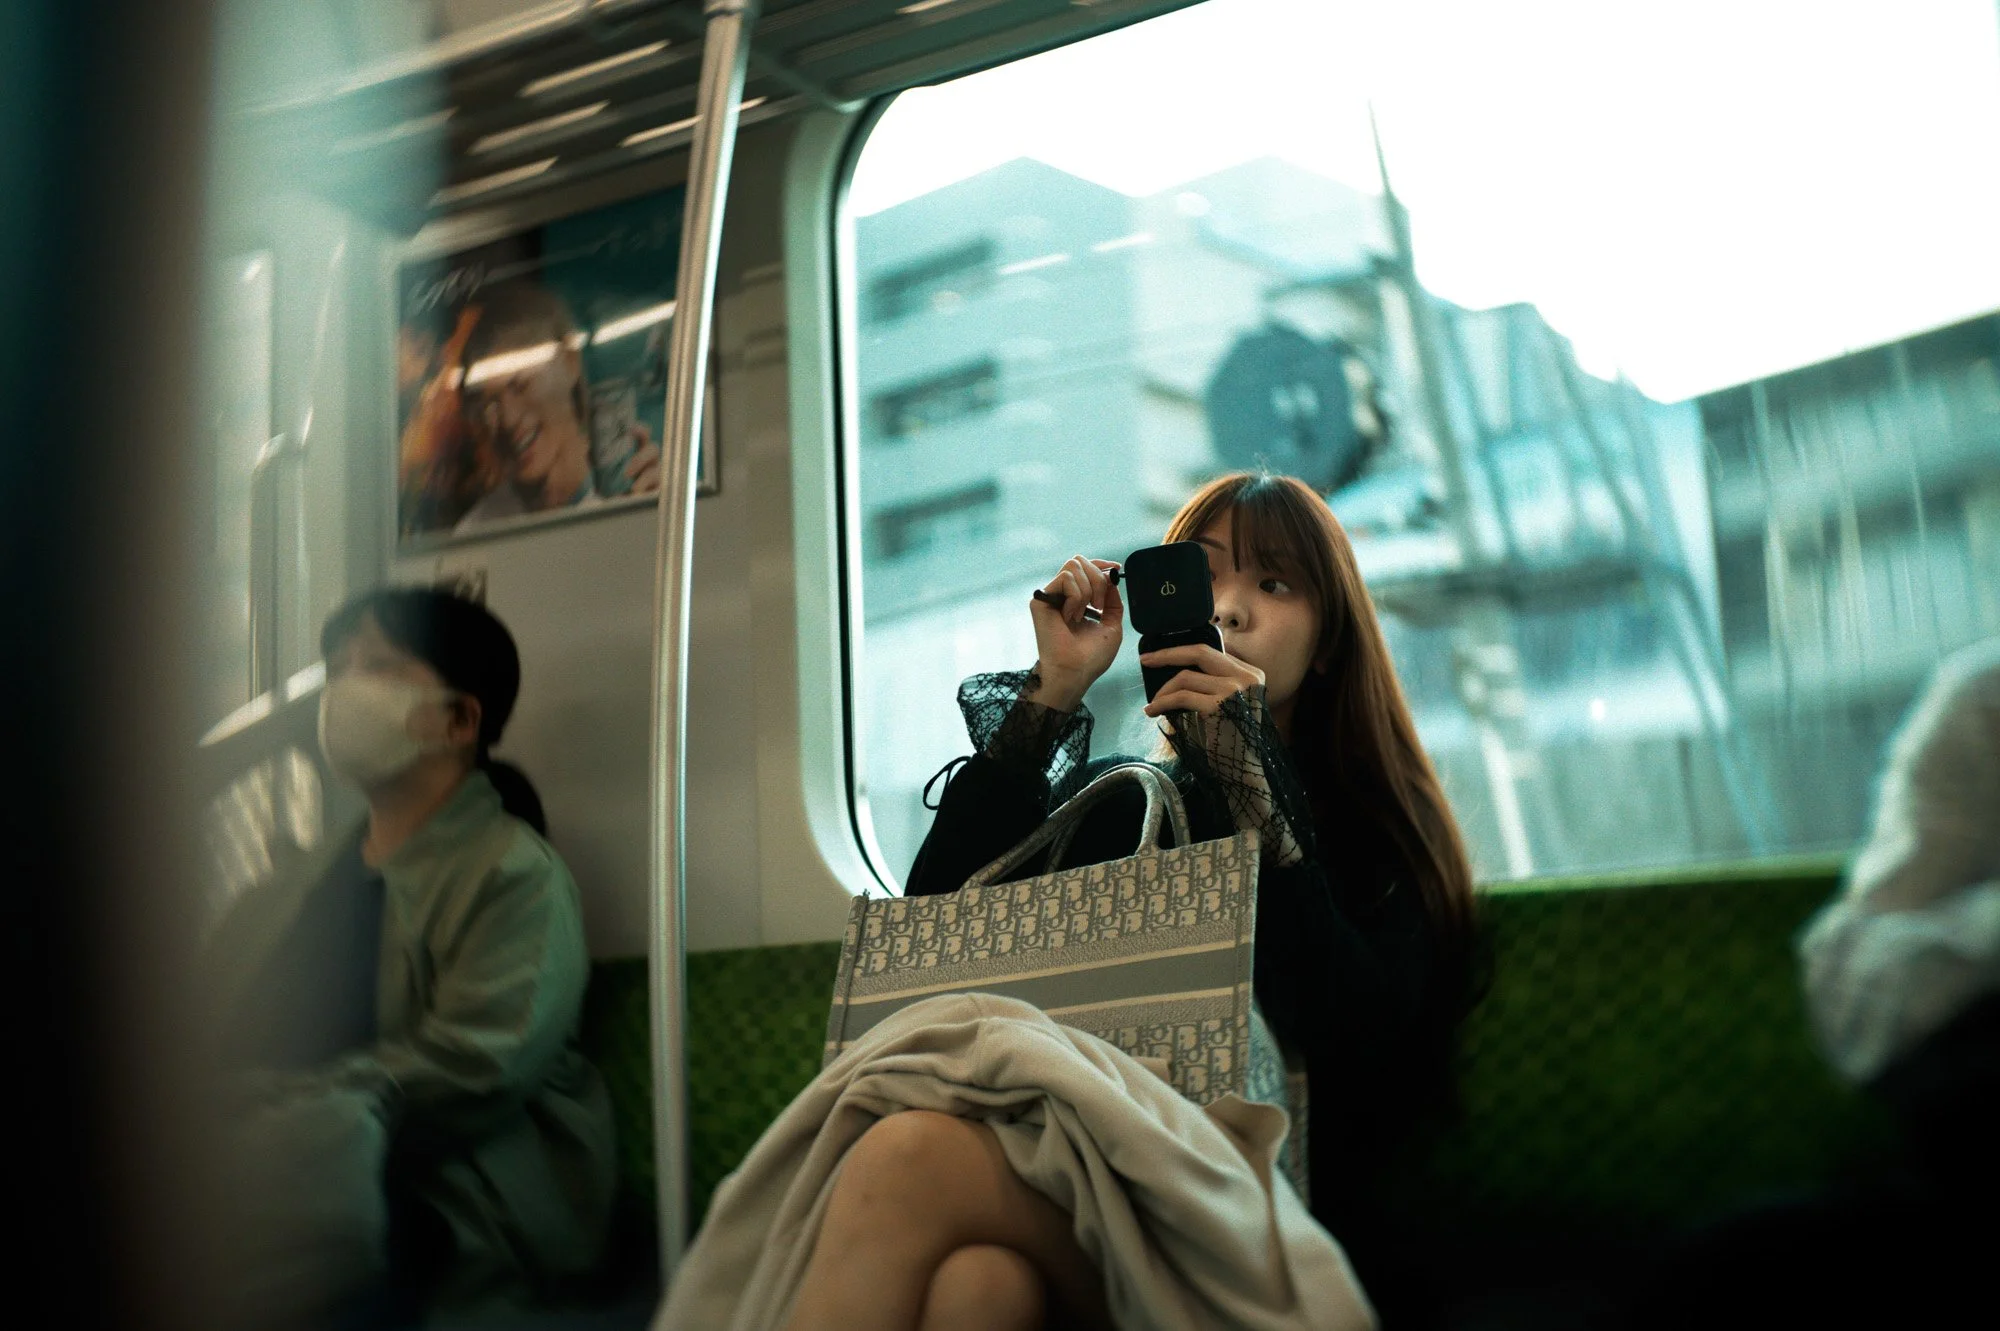
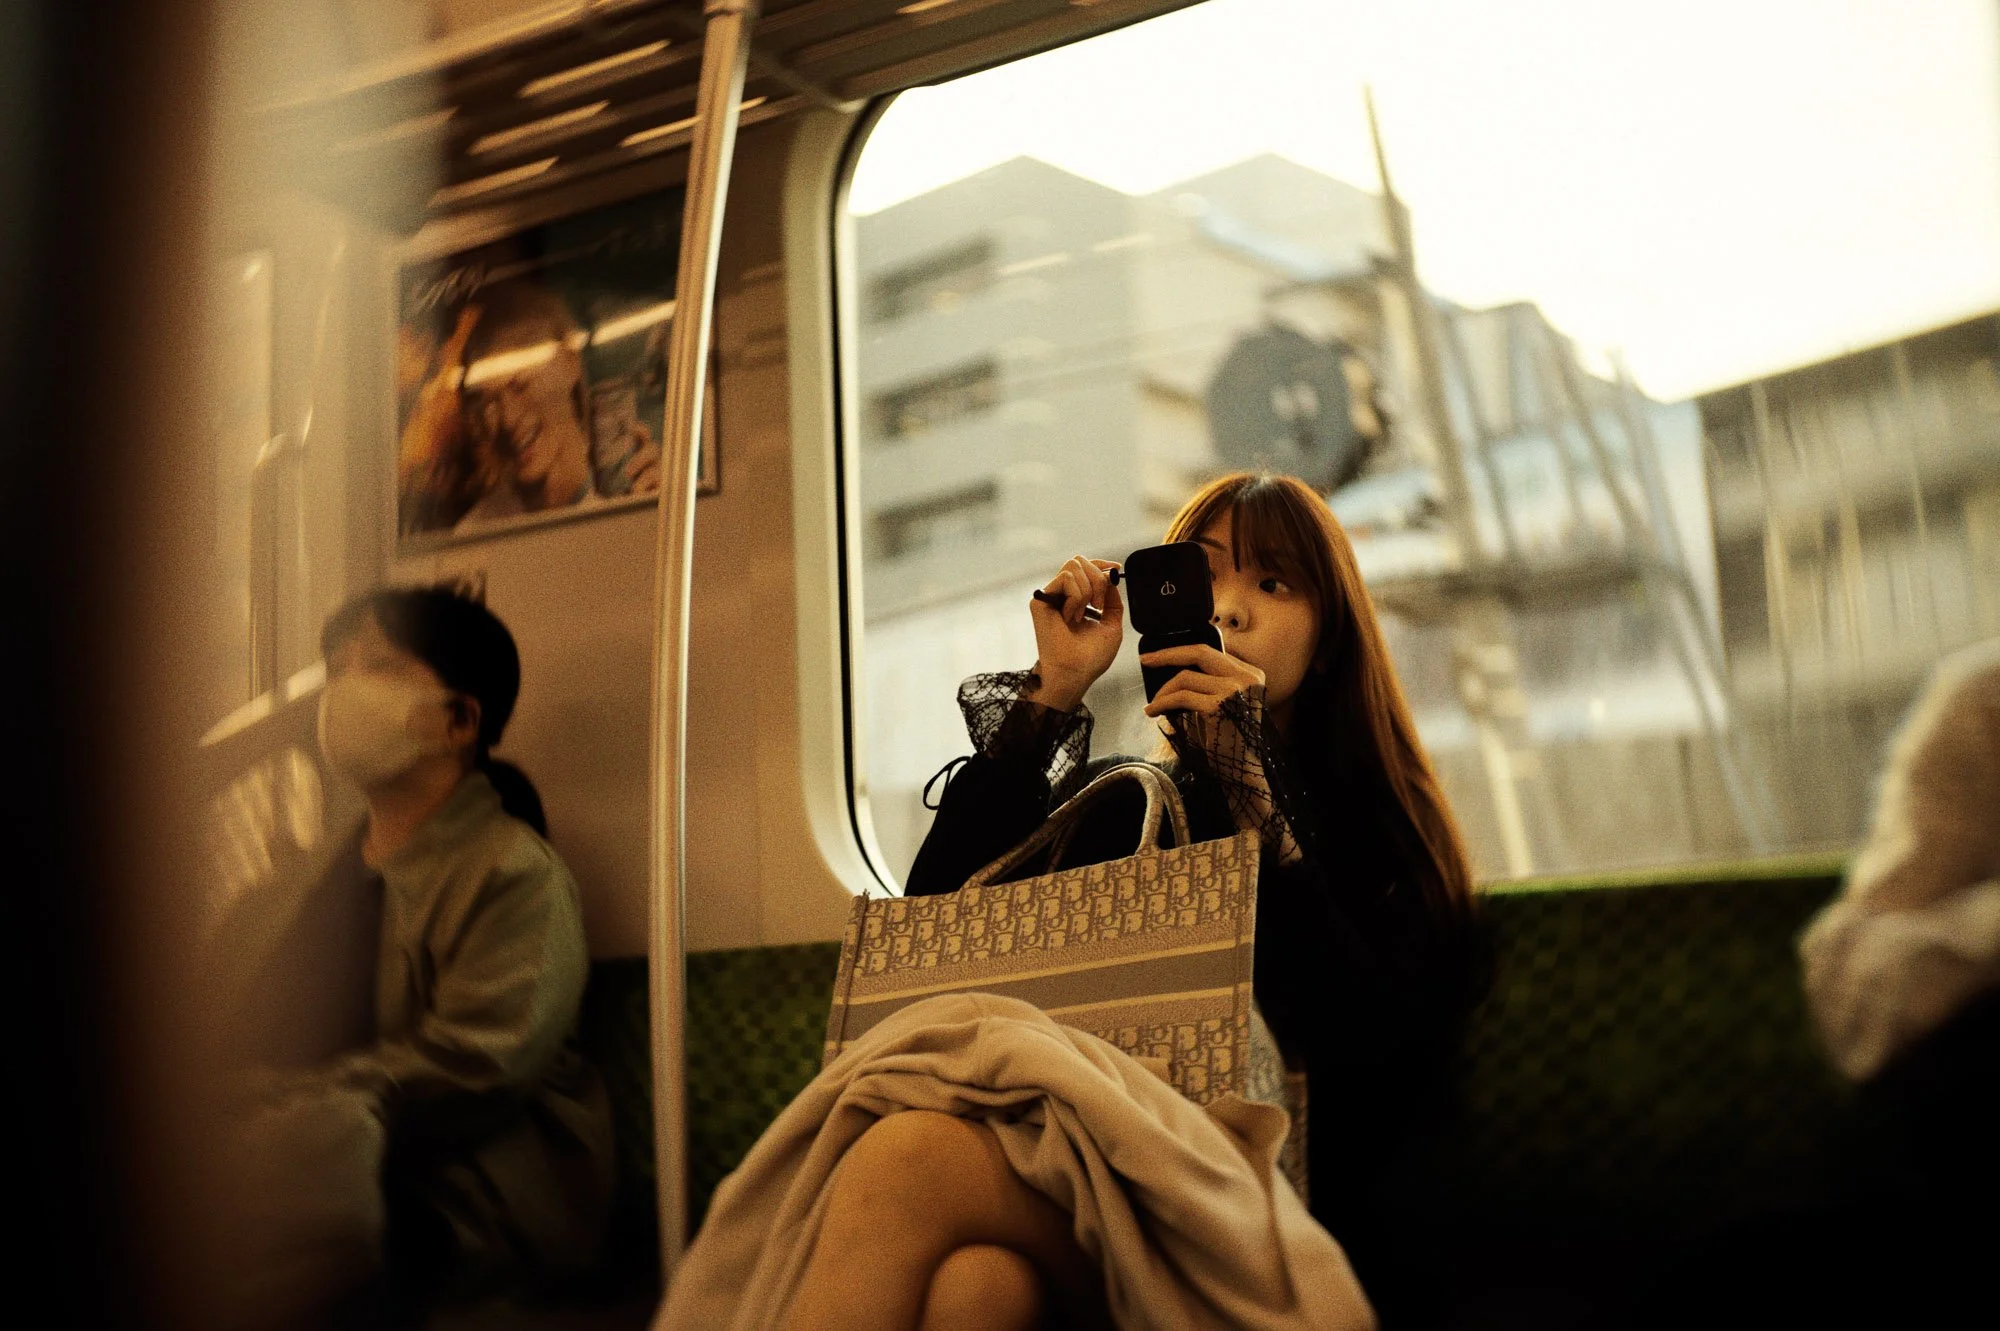
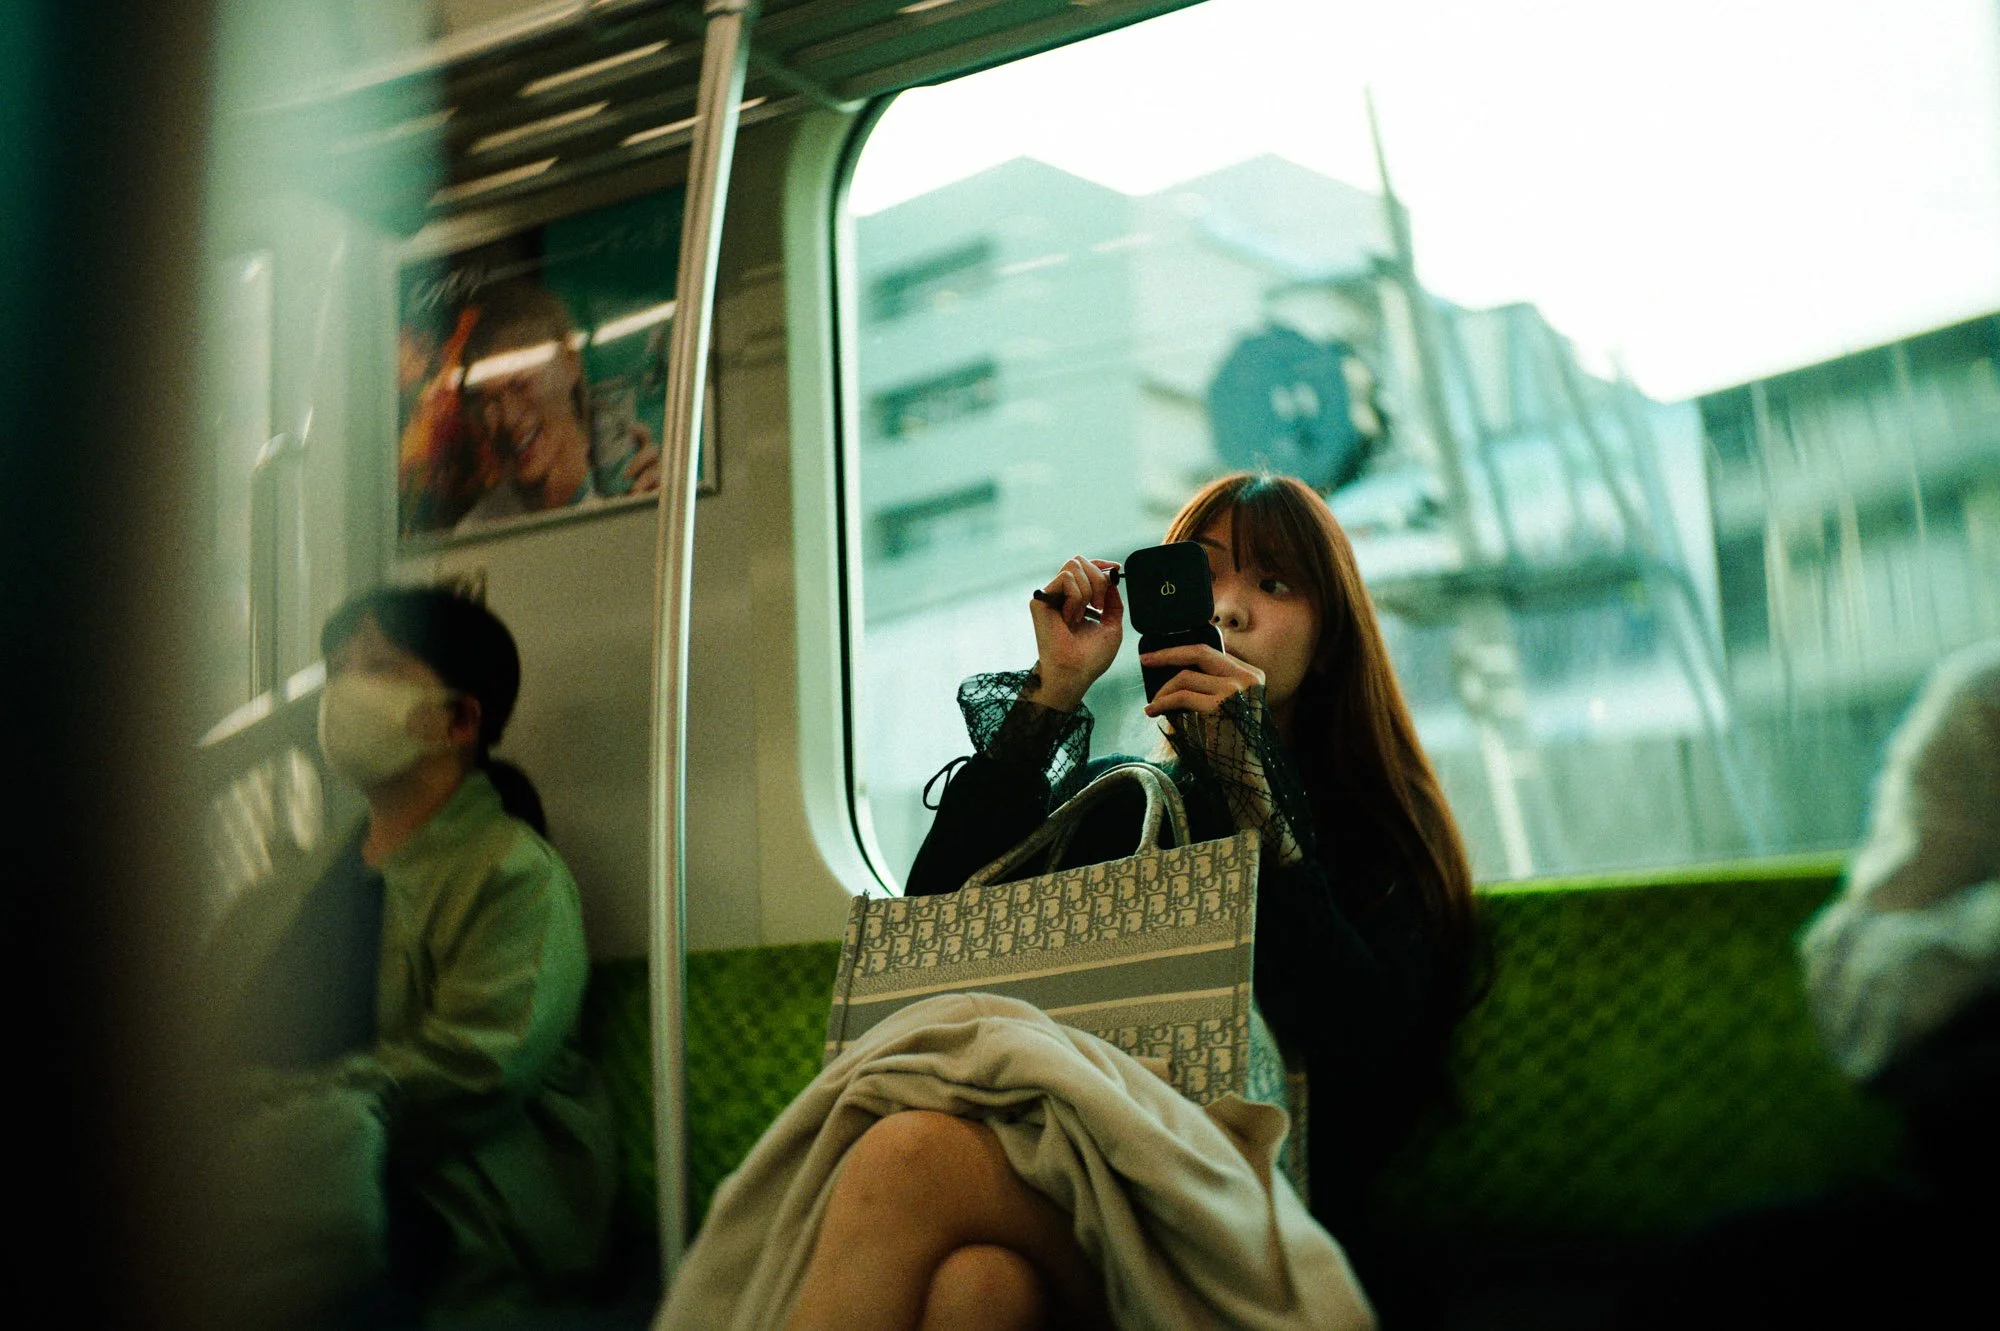
By the end of the edit, the difference is often drastic, giving the image a completely new creative direction. I didn't even notice how much it changed until I saw the before and after.
New License: ~139.99 Euros.
Upgrade: ~79.99 Euros.
Trial: There is a 30-day free trial available.
Check it out here.